

At-home microdermabrasion: what it really changes for your skin
At-home microdermabrasion works for skin maintenance, not for deep correction. Used regularly, it refines skin texture, revives radiance, and improves the penetration of subsequently applied skincare. It does not replace a professional office session for marked acne scars or established melasma: for these cases, consumer-grade devices quickly hit their limits.
Before any session, three reflexes are essential:
- Perform a patch test on the forearm 24 hours before the first use on the face.
- Stop retinoids, exfoliating acids, and other irritating actives several days prior.
- Plan for sunscreen after every session, without exception.
Pro tip: if your skin is red for more than 24 hours after a session, space out the next ones and turn down the power level. A study published in the Journal of the American Academy of Dermatology compared an at-home system to an office procedure: after one to four weeks, both groups showed comparable improvements on most skin parameters, even though the office procedure produced a more marked effect immediately after treatment. In other words, the home device makes up much of the gap, provided you let time do its work.
Key points
At-home microdermabrasion improves skin texture and radiance over several weeks, provided you respect contraindications and sun protection.
| Point | Details |
|---|---|
| Maintenance use, not correction | It is effective for skin texture and radiance but does not treat deep scars or established melasma. |
| Start low, increase gradually | Always test the lowest setting first and only intensify after several sessions without a reaction. |
| Respect contraindications | Avoid the device in case of active acne, rosacea, open wounds, or recent isotretinoin treatment. |
| Protect the skin post-session | Hydrate with hyaluronic acid and apply at least SPF 30 for at least one week. |
| Choose a reliable device | HBPS-Beauty offers devices with progressive settings, a user guide, and customer service for safe maintenance. |
Table of Contents
- What is at-home microdermabrasion and who is it for?
- Crystals, diamond, or vibration: how to choose your device?
- How to perform a microdermabrasion session safely?
- Who should avoid microdermabrasion and how to limit the risks?
- What results to expect and on what timeline?
- What do clinical studies say about at-home microdermabrasion?
- Sources
What is at-home microdermabrasion and who is it for?
The principle remains the same as in a clinic, in a softened version: mechanical exfoliation of the stratum corneum, often coupled with suction that slightly stimulates local circulation. Three technologies share the consumer market.
- Projected crystals: a jet of micro-crystals (usually aluminum oxide) sands the surface, and then a system vacuums up the residue.
- Diamond tip: a head covered with abrasive particles scrubs the skin directly, without projecting crystals, which limits the risk of dust inhalation.
- Vibrating applicator: a gentler exfoliation, often combined with a brush or ultrasound, designed for reactive skin.
The main benefit is not limited to the smooth appearance after the shower. By removing dead surface cells, the device improves the penetration of serums and creams applied immediately after, which boosts their effectiveness without changing their formula. This is where at-home microdermabrasion makes the most sense: less as an isolated treatment and more as a step that optimizes the rest of your routine.
The ideal candidate has skin without active inflammation and is looking to maintain dull skin, enlarged pores, or irregular texture, not to erase a deep scar or an old pigment spot.
Crystals, diamond, or vibration: how to choose your device?
The technical choice depends primarily on your skin type and your tolerance to abrasion. Crystals offer a more direct sanding effect but disperse fine dust that should be avoided. The diamond tip, which is more precise, is better suited to the thin skin of the face and is easier to clean between sessions. The vibrating applicator remains the gentlest option, suitable for sensitive skin or beginners who want to test the technique without risk.
Beyond this technical choice, several concrete criteria separate a reliable device from a disappointing gadget:
- Progressive settings: at least three intensity levels, to start low and increase only if the skin tolerates it well.
- Replaceable tips and filters: a device where you cannot change the head ends up becoming less hygienic and less effective after a few months.
- Ergonomics/handling: a handle that is too heavy or poorly balanced complicates movements around the contours of the face.
- Adjustable suction level: essential to adapt pressure on thin areas (eyelids, sides of the nose) compared to thicker areas (forehead, chin).
- Easy access to spare parts: a device whose consumables are no longer available in stores loses all utility after a year.
Consumer comparisons that test these devices particularly insist on progressive settings and interchangeable tips as safety criteria, not just comfort. A device without intensity levels forces you to start directly at full power, which multiplies the risk of irritation from the very first use.
Regarding safety, a few signs are reassuring before purchase: hypoallergenic materials in contact with the skin, clear instructions detailing contraindications, and ideally a warranty covering the motor and wear parts. A vague or poorly translated manual is often the first signal that you are dealing with a low-end product.
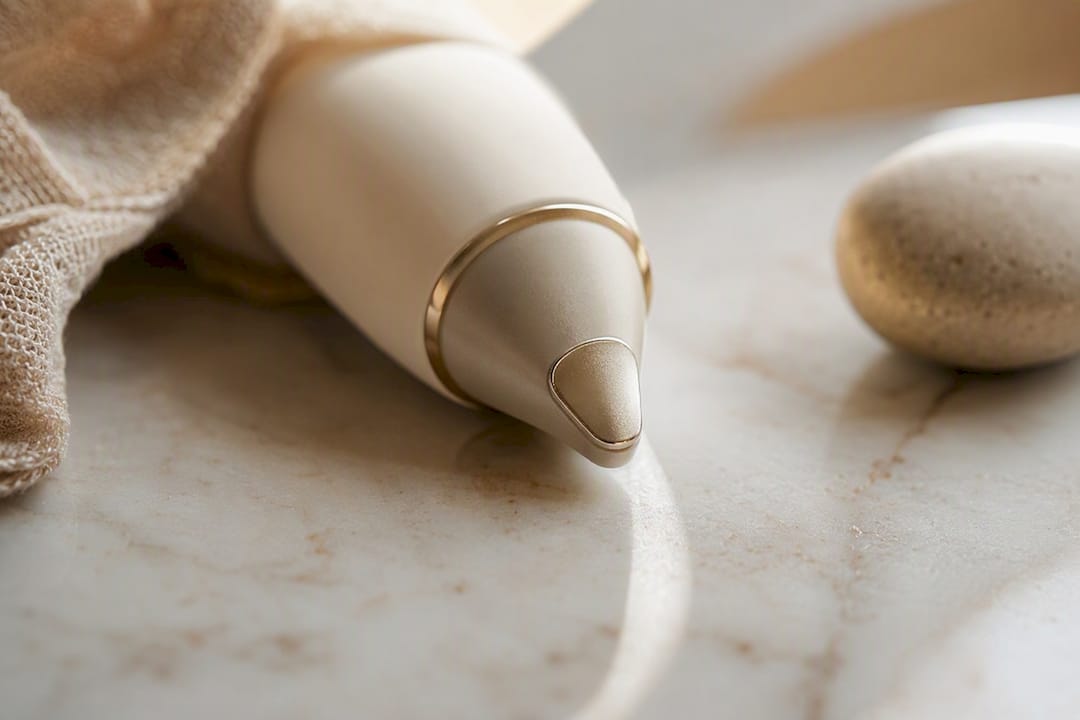
Pro tip: always keep at least one spare tip on hand. A worn tip loses its exfoliating effectiveness long before it is visible to the naked eye, and you risk compensating by pressing harder, which damages the skin instead of exfoliating it.
How to perform a microdermabrasion session safely?
Technique counts more than the power of the device. Here is the step-by-step procedure.
- Cleanse the face with a gentle gel, without oil or residual makeup, then dry the skin completely.
- Verify that you have stopped strong actives (retinol, AHA, BHA) for 3 to 7 days if you usually use them.
- Perform a tolerance test on a small area, at the lowest setting, before tackling the entire face.
- Start on the cheeks and forehead, areas where the skin is thicker, to assess your threshold of tolerance before tackling thin areas.
- Keep the device in constant motion, never insisting on the same spot or pressing hard. The rule is simple: glide, don't rub.
- Avoid fragile areas: eyelids, lip contours, irritated or pimpled skin.
- Limit the duration per area to a few passes, no more. A complete facial session rarely exceeds ten to fifteen minutes.
- Rinse and immediately apply a soothing treatment, then sun protection if you are going out.
This method—continuous movement and light pressure—aligns with the practical recommendations shared by skin specialists: the main risk at home comes less from the device itself than from how it is used.
Regarding frequency, caution is better during the first few weeks.
- One session per week maximum at the start, to give the skin time to renew itself between passes.
- Space out to one session every two weeks if you observe the slightest persistent redness or unusual sensitivity.
- Only increase frequency after several weeks without a negative reaction, never before.
Pro tip: note the date and setting used after each session. This small tracking log prevents you from forgetting where you were if you take a break for a few weeks, and it helps spot a pattern if irritation always returns after the same setting.
Who should avoid microdermabrasion and how to limit the risks?
Certain situations make at-home microdermabrasion definitely inadvisable, not just risky. Active inflammatory acne, rosacea flare-ups, recent isotretinoin use, open wounds, skin infections, or skin that heals poorly (history of keloid scars, for example) are among the most cited contraindications by practitioners. In these cases, mechanical abrasion aggravates inflammation instead of soothing it.
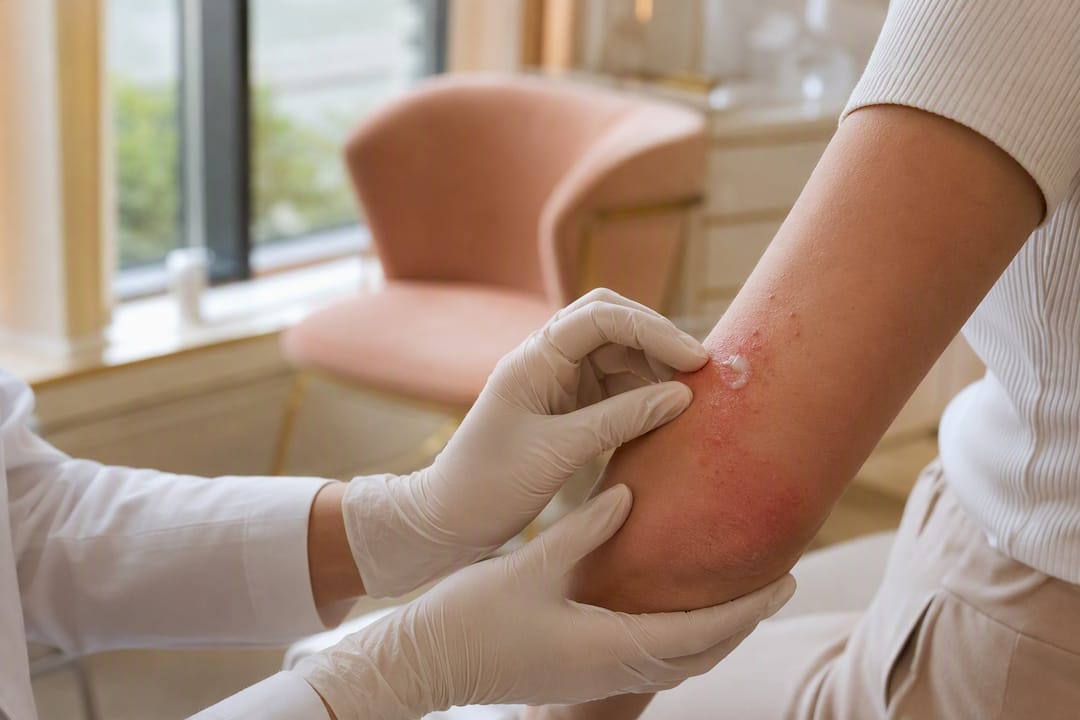
Even on skin that tolerates the procedure well, some reactions remain normal in the hours that follow: redness, a sensation of tightness, slight sensitivity to the touch. The skin may remain red or sensitive for up to 24 hours after treatment, a delay that should be respected before any new exposure to aggressive actives. Darker skin tones have a higher risk of post-inflammatory hyperpigmentation if the session is too aggressive or too frequent, which justifies particular caution regarding the power level chosen.
The post-session care protocol limits most complications:
- Apply a soothing moisturizing treatment, ideally based on hyaluronic acid, within minutes.
- Avoid any irritating active (retinol, acids, concentrated fragrance) for 48 to 72 hours.
- Wear SPF 30 minimum sun protection for at least one week, even on cloudy days.
- Skip occlusive makeup on the same day to let the skin breathe.
What results to expect and on what timeline?
The first visible effect arrives quickly: from the first session, the skin appears smoother and brighter, simply because the layer of dead surface cells has disappeared.
The difference from a professional treatment is mainly about the speed and depth of action: a dermatologist or clinic works with more intensity in a single session, while the home device builds its effect gradually, session after session. This progressiveness is not a flaw; it perfectly matches the maintenance use for which these devices are designed.
To objectively judge your progress:
- Take a photo in the same light, in the same place, before each session.
- Keep a short tolerance log (redness, dryness, sensitivity) during the first eight to twelve weeks.
- Adjust the frequency downward as soon as a reaction lasts longer than usual, rather than insisting.
This simple tracking (photo and tolerance log) remains the most reliable method to know if the device is truly right for you, long before drawing a hasty conclusion after one or two uses.
What do clinical studies say about at-home microdermabrasion?
After one to four weeks of follow-up, the at-home and in-clinic treatment groups showed similar improvements on most skin parameters measured, with the in-clinic procedure maintaining an advantage especially in the hours immediately following the session.
This finding, taken from the clinical evaluation published in the JAAD, reframes a misconception: the gap between home and clinic shrinks over time; it does not close all at once. The Cleveland Clinic's recommendations on contraindications and post-procedure care complement this clinical finding with concrete rules of caution. To delve deeper into the logic of at-home maintenance rather than one-off correction, the HBPS Beauty & Fashion page on at-home aesthetic devices details this same distinction between progressive effectiveness and immediate results.
At home or in a clinic: my opinion on the right choice
I recommend home use for routine maintenance: texture, radiance, skin preparation before a serum. I recommend the clinic as soon as it involves marked acne scars or hyperpigmentation that has been lingering for months; consumer-grade devices will not go deep enough.
Three questions are enough to decide: does the severity of the problem exceed simple dull texture? Is the budget for regular clinic follow-ups sustainable over several months? Are you comfortable adjusting the intensity yourself throughout the sessions? In case of doubt, a dermatological opinion remains the best compass before investing in a device.
Getting started with an HBPS Beauty & Fashion device
If you want to integrate microdermabrasion into your routine without multiplying clinic appointments, the HBPS-Beauty boutique offers a selection of skincare devices designed for regular home use, such as the Beauty Focus MultiBeauty Pharmanex.

Unlike an occasional clinic visit, the device stays with you and is used at the pace that suits your skin, without recurring costs for each session. The models available at HBPS-Beauty come with a detailed user guide and customer service reachable in case of questions about settings or maintenance—two points that often make the difference between a well-used device and one that gathers dust after a month. Before any first use, check the device's compatibility with your skin type and systematically perform a patch test. Consult the product page to compare available settings and place your order in minutes.
Sources
- Microdermabrasion: What It Is, Benefits, Results & Side Effects — Cleveland Clinic
- Microdermabrasion at home—A clinical assessment — JAAD
- Microdermabrasion at Home: Is it Safe? — LiVDerm
- 11 Best At‑Home Microdermabrasion Kits of 2024 — Allure
Recommendation
- At-home dermaplaning: a safe and practical guide – HBPS Beauty & Fashion
- At-home aesthetic devices: 60-70% pro-level efficacy – HBPS Beauty & Fashion
- The steps for effective makeup removal based on your skin type – HBPS Beauty & Fashion
- At-home skincare routine guide: a simple method – HBPS Beauty & Fashion